The holiday season generates a beautiful abundance of paper treasures—shimmering gift wrap, vintage greeting cards, delicate tissue paper, and colorful ribbons. Rather than discarding these materials after the celebrations end, consider transforming them into artwork that captures the spirit of the season for years to come.
The Art of Preservation Through Collage
Holiday ephemera carries unique cultural and emotional resonance. Each piece of wrapping paper, every holiday card, and all those decorative scraps represent moments of celebration, connection, and creativity. By incorporating these materials into collage work, you’re not just recycling—you’re creating what I like to call “future antiques,” artworks that will carry both aesthetic and nostalgic value as years pass.
This approach connects deeply with the tradition of memory-keeping through art. Think of Victorian scrapbooks or Depression-era collages where artists used whatever materials were at hand. You’re participating in a long lineage of resourceful, meaningful art-making.

Getting Started: Collecting Your Materials
The key to successful holiday collage is thoughtful collection throughout the season:
Wrapping Paper: Save interesting patterns, metallic finishes, and unique textures. Even small scraps can become focal points in a composition. Look for vintage-inspired designs, unusual color combinations, or papers with interesting printing techniques.
Greeting Cards: Both the fronts and insides of cards offer collage potential. Vintage cards from thrift stores or family collections add historical depth. Contemporary cards often feature beautiful illustrations or typography worth preserving.
Tissue Paper: The translucent quality of tissue paper creates layering opportunities. Crumpled tissue develops interesting textures. Metallic or patterned tissue adds dimensional interest.
Ribbons and Trims: Fabric ribbons, paper twine, metallic cords, and decorative tape provide linear elements and textural contrast. Even the selvage edges of ribbon spools can be interesting.
Tags and Labels: Gift tags, shipping labels, and product packaging often feature appealing typography or graphics that work beautifully in collage.
Additional Ephemera: Don’t overlook holiday-themed newspaper clippings, catalog pages, sheet music from carols, recipe cards, or even fragments of holiday-themed fabric.

Basic Techniques for Holiday Collage
Layering for Depth
Start with a base layer—perhaps a neutral background or a piece of vintage paper. Build up layers gradually, allowing some elements to peek through. This creates visual depth and complexity. Consider how colors interact across layers and how transparent materials modify what’s beneath them.
Color Harmony
Holiday materials often come in traditional red-green-gold palettes, but don’t feel constrained. Look for unexpected color combinations: icy blues with silver, deep purples with bronze, or soft pastels. You can also create visual unity by selecting materials within a specific color range.
Texture and Dimension
Vary the surfaces in your collage. Combine smooth metallic papers with crumpled tissue, flat cards with dimensional ribbons. This tactile variety makes collages more engaging. Consider partially lifting edges or folding elements to cast shadows.
Composition Strategies
Grid Patterns: Arrange rectangular pieces in organized grids for a modern, structured look.
Organic Flow: Let materials overlap and cascade across the surface in a more spontaneous arrangement.
Focal Point: Build your composition around one central element—perhaps a particularly beautiful vintage card or an unusual piece of gift wrap.
Abstract vs. Representative: You might create purely abstract color and texture studies, or arrange materials to suggest recognizable forms like trees, ornaments, or winter landscapes.

Working Process
- Sort and Organize: Lay out your collected materials and group them by color, pattern, or theme. This helps you see what you have and sparks compositional ideas.
- Dry Arrange: Before gluing anything, arrange pieces on your surface. Take photos of arrangements you like—you can always return to them.
- Adhesive Selection: Use appropriate glue for your materials. PVA glue works well for paper. Gel medium offers more working time and can create interesting effects. Glue sticks work for lightweight papers. For dimensional elements like ribbons, you might need stronger adhesive.
- Build Gradually: Work from background to foreground, allowing each layer to dry before adding the next. This prevents buckling and gives you more control.
- Finishing: Consider whether your collage needs additional mark-making with pencil, pen, or paint. You might add highlights, shadows, or linear elements to unify the composition.

Preserving Your Work
Once complete, consider how to protect your holiday collage:
- Seal It: A light spray fixative or thin coat of acrylic medium can protect the surface, though this will change the texture slightly.
- Frame It: Placing your collage under glass (with a mat to prevent contact) offers the best protection.
- Document It: Photograph your work in good light. Holiday collages can become treasured family records.

Beyond the Individual Piece
Holiday collage offers wonderful opportunities for:
Handmade Cards: Create unique holiday cards by making small collages on card stock.
Art Journals: Dedicate pages in your journal to seasonal collage work, creating an ongoing record of holiday celebrations.
Gift Tags: Turn small collage compositions into one-of-a-kind gift tags—art that adorns more art.
Collaborative Projects: Engage family members in creating collages together. Children especially enjoy the accessible nature of collage-making.
Series Work: Create multiple pieces exploring variations on a theme—different color schemes, compositions, or concepts using similar materials.

The Sustainability Connection
This practice embodies creative sustainability. You’re giving beautiful materials a second life rather than sending them to landfills. You’re slowing down to appreciate design and craftsmanship. You’re creating artwork that tells the story of celebrations past. In our disposable culture, this mindful approach to materials feels both practical and poetic.

Invitation to Creative Exploration
Holiday collage welcomes artists at every level. Whether you’re an experienced collagist or someone who’s never considered ourselves artistic, these materials invite playful exploration. There’s no wrong way to arrange beautiful papers and discover what emerges.
The accessible nature of collage—no special skills required, materials readily available, immediate results—makes it an ideal entry point into artmaking. Plus, working with materials that already carry meaning and beauty reduces the pressure of creating from scratch.

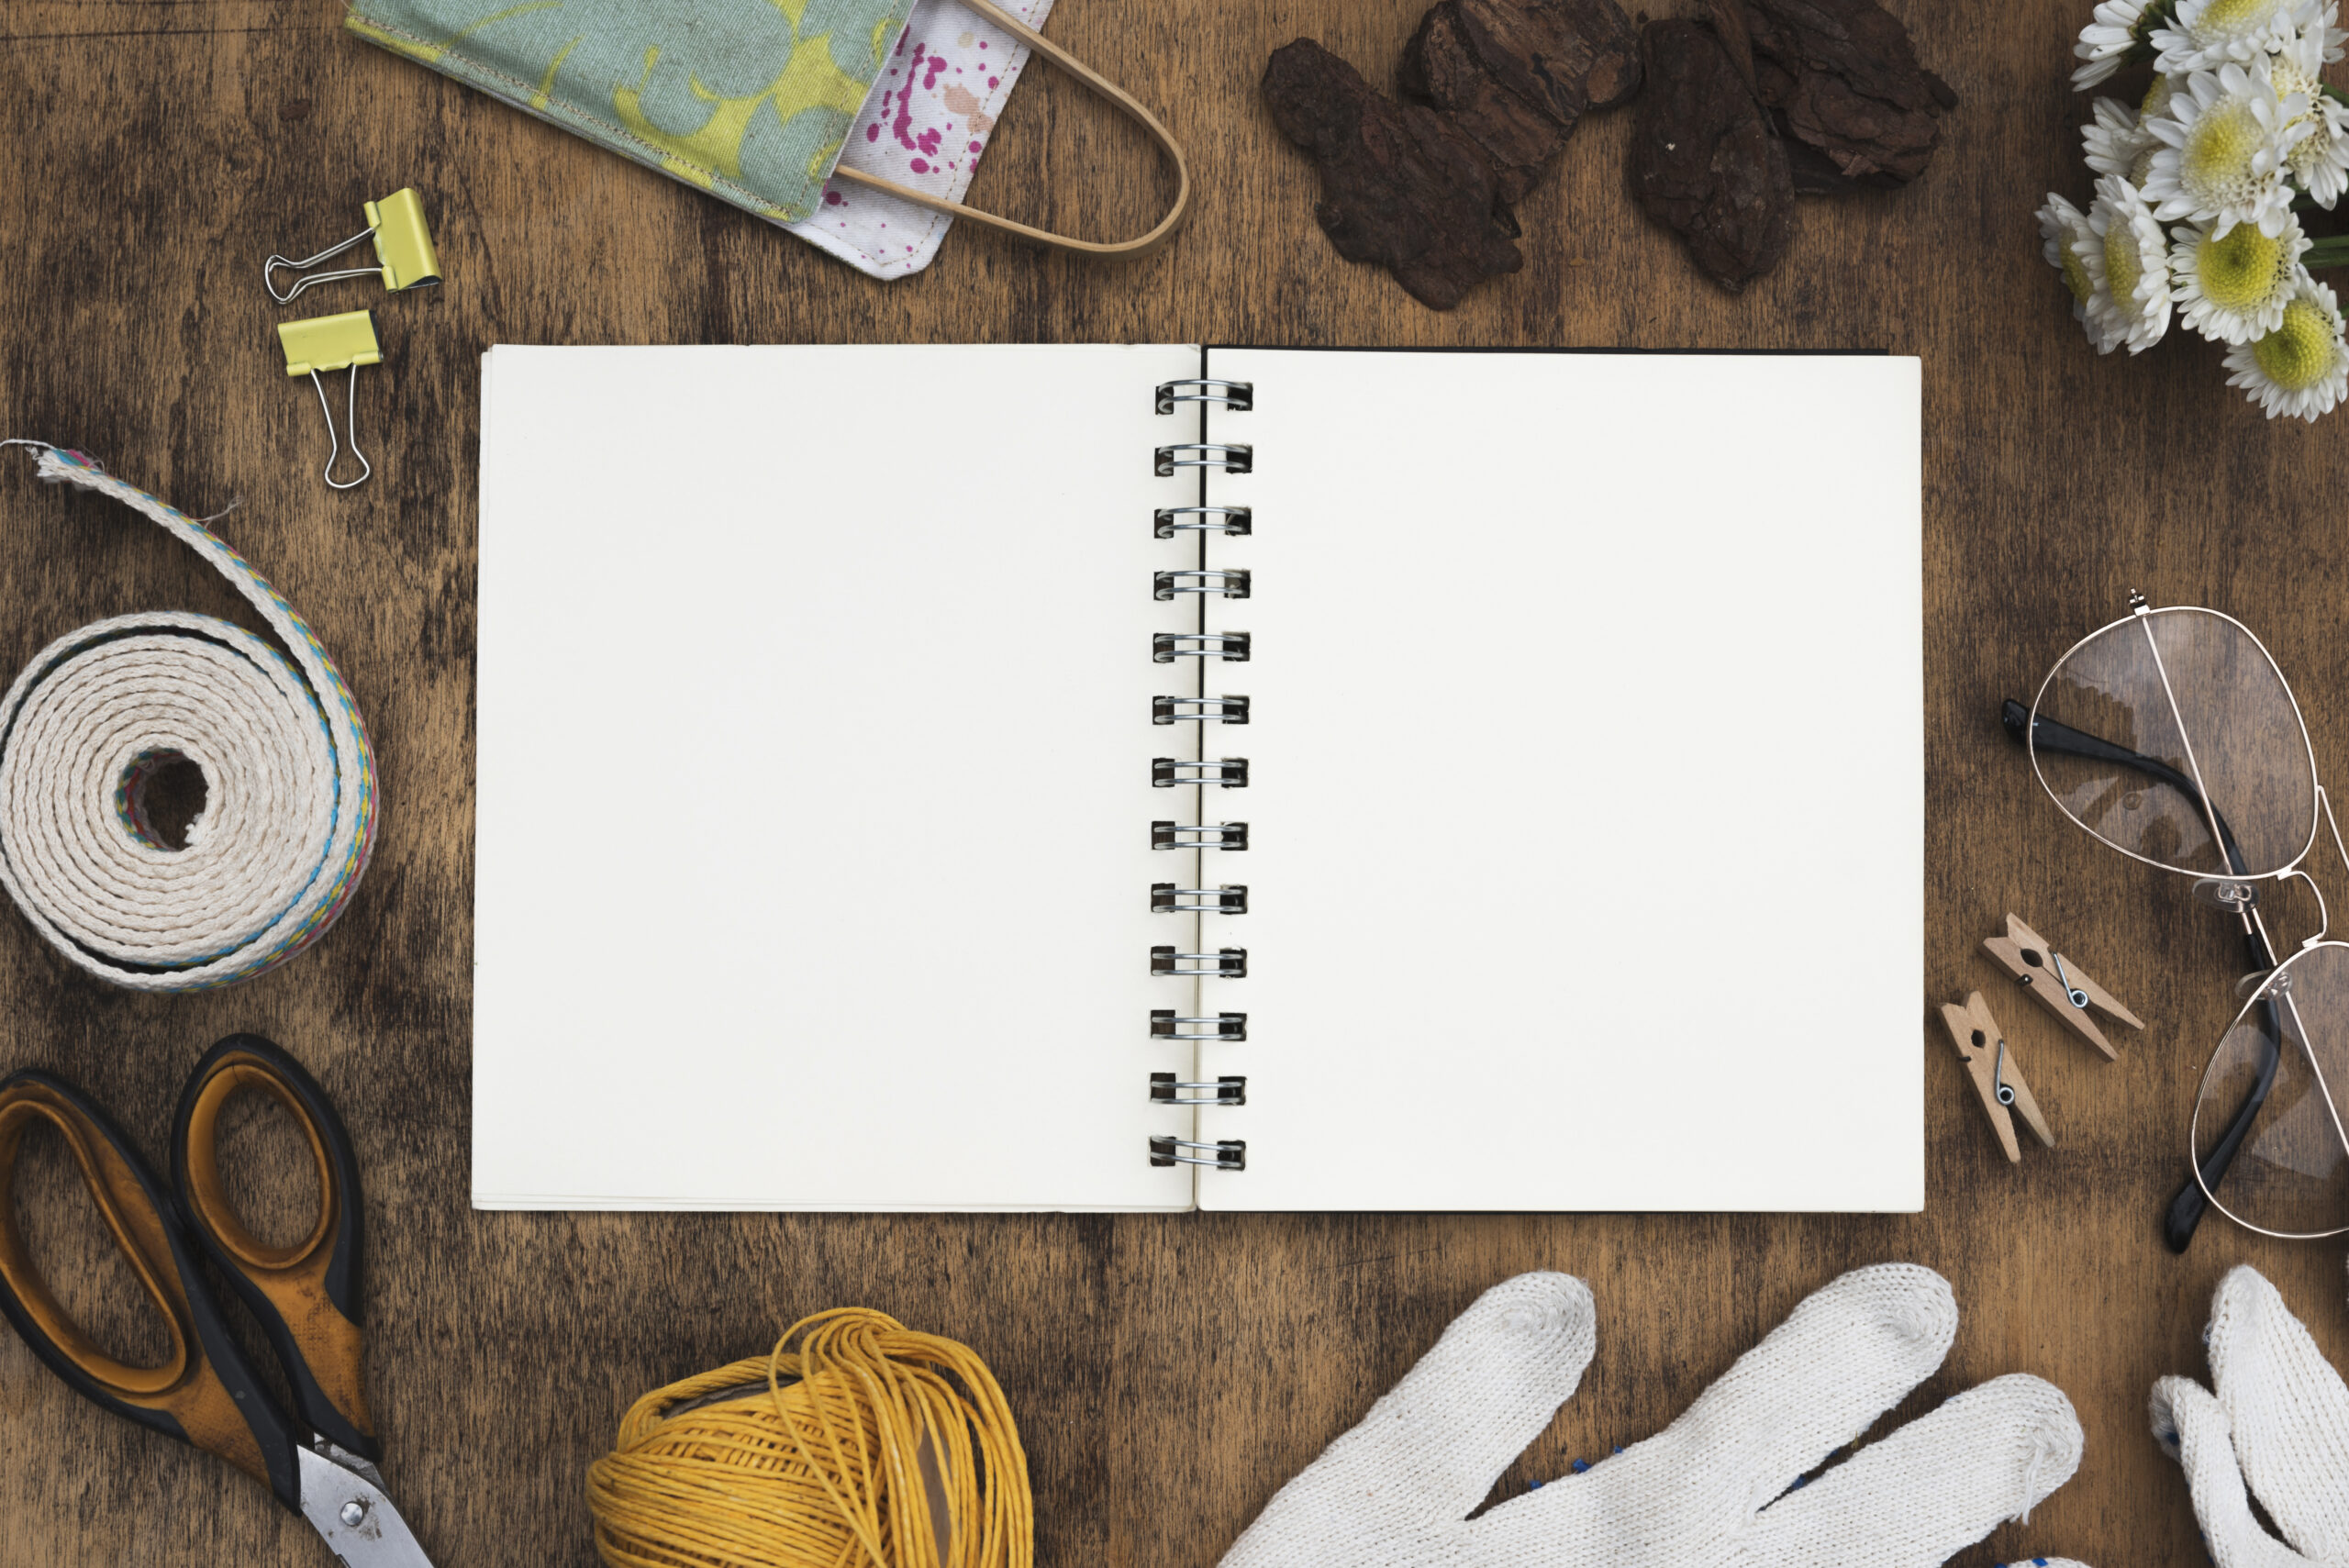
As you develop your collage practice, you’ll want different surfaces for different purposes. Leda sketchbooks are perfect for experimentation and process work—like the Velveteen Rabbit who becomes real through being loved, these books aren’t meant to stay pristine. They’re designed to show the evidence of your creative exploration. The paper may buckle slightly with wet adhesives but as you add layers the book itself will develop character, becoming a treasured artifact like a well-loved tome from an old English library.

For finished collage pieces you want to frame or gift, consider the Leda Hot Pressed Watercolor Pads—professional 140-pound Italian paper with a smooth surface that handles adhesives beautifully. The 25% cotton content gives exceptional density, and at A3 size (11.5 x 16.5 inches), you have generous space for composition. These sheets are acid-free and archival, so your holiday collages will last for generations. Leda pencil sets complete your toolkit, letting you add drawing elements and details to your work.
Each purchase helps support The Creativity Initiative’s mission of making art education accessible to everyone.
This holiday season, save those beautiful papers. Notice the colors, patterns, and textures that catch your eye. Give yourself permission to play, experiment, and create “future antiques” that will carry the warmth of this season forward through time.
The materials are already in your hands—wrapped around gifts, arriving in your mailbox, adorning your celebrations. Now they’re waiting to become something new, something lasting, something uniquely yours.
Embrace the Creative Journey!